DIY Nail Art Tips
Get inspired by DIY nail art tips and tutorials for beginners.
Key Takeaways
- Choose the right nail polish and tools for your DIY nail art project.
- Start with simple designs and practice, practice, practice!
- Use nail art tutorials and online resources to improve your skills.
- Experiment with different techniques and materials to create unique designs.
Getting Started with DIY Nail Art
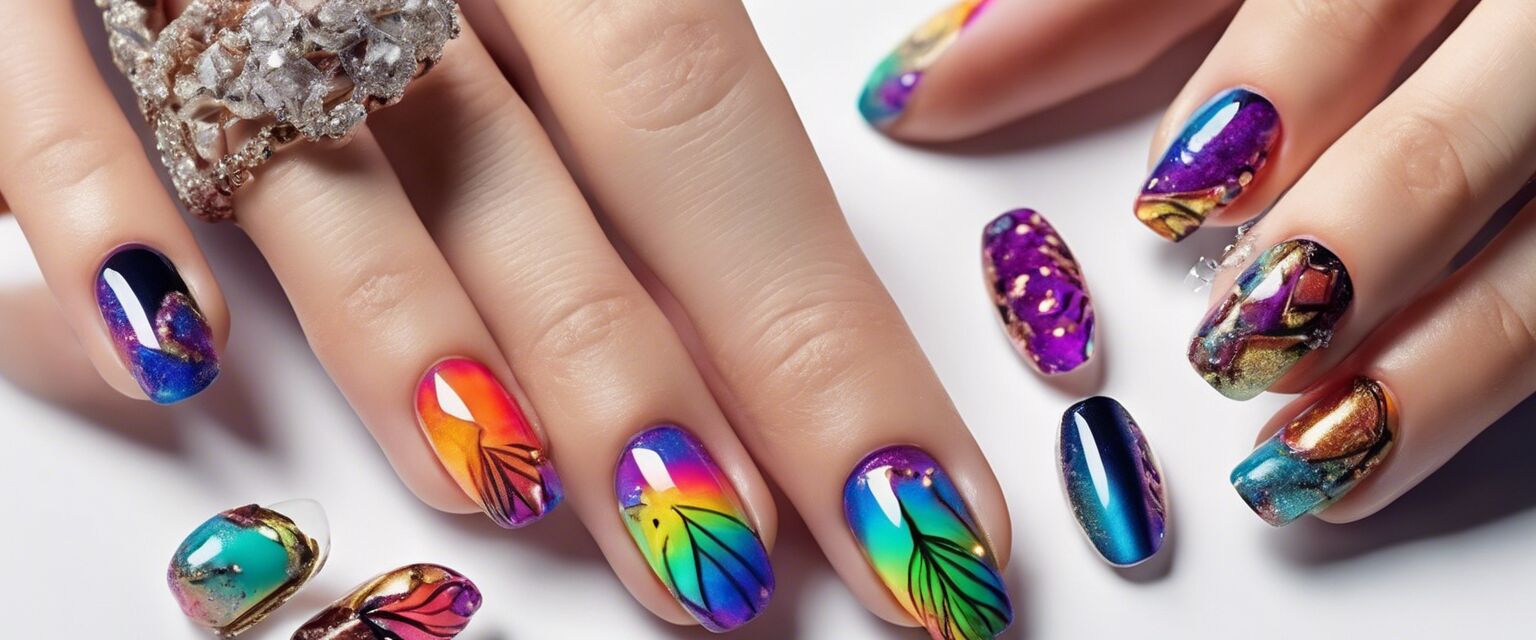
DIY nail art is a fun and creative way to express yourself and add some personality to your nails. With a few simple tools and some practice, you can create beautiful and unique designs that will make you stand out.
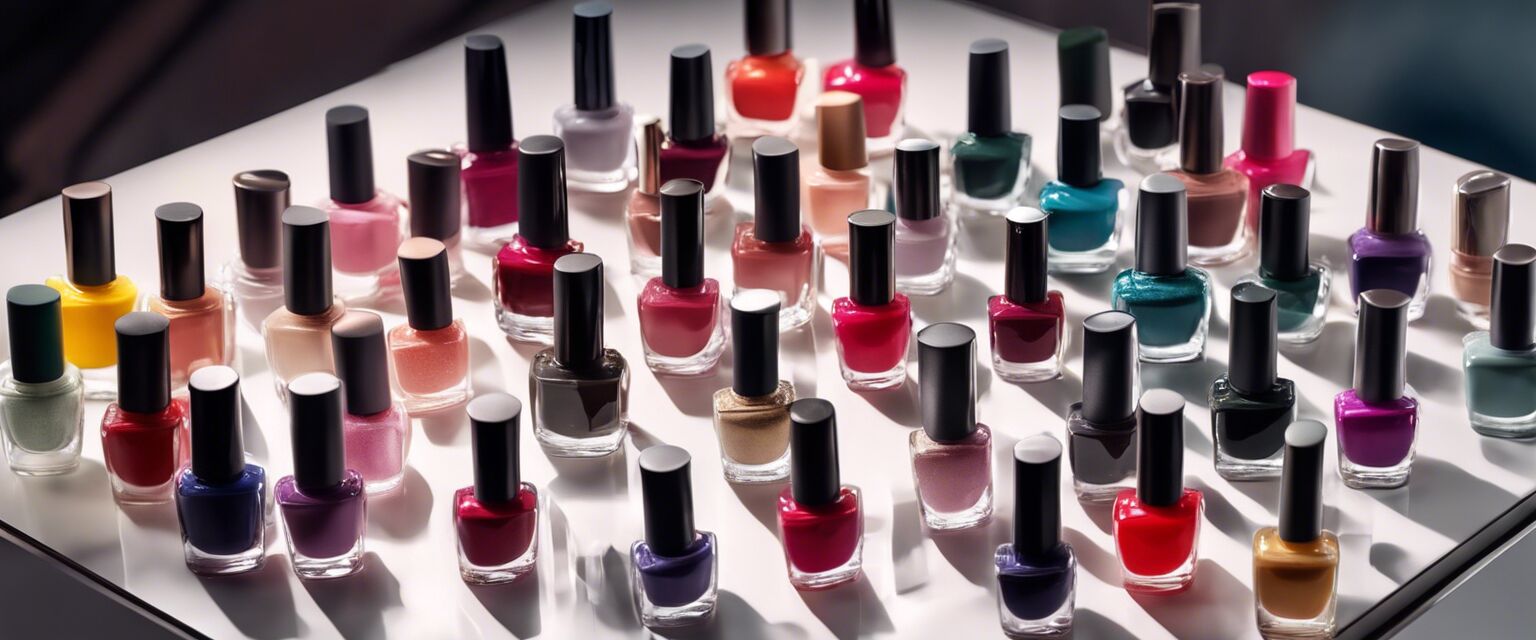
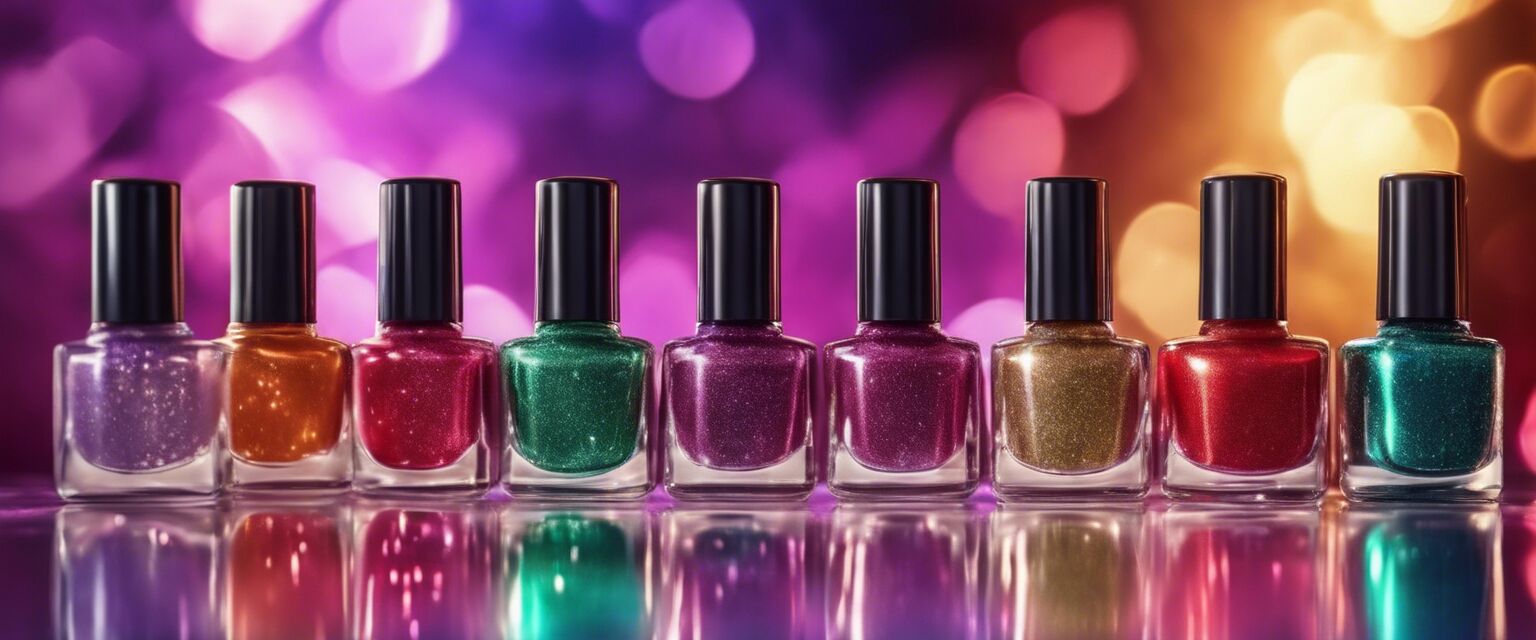
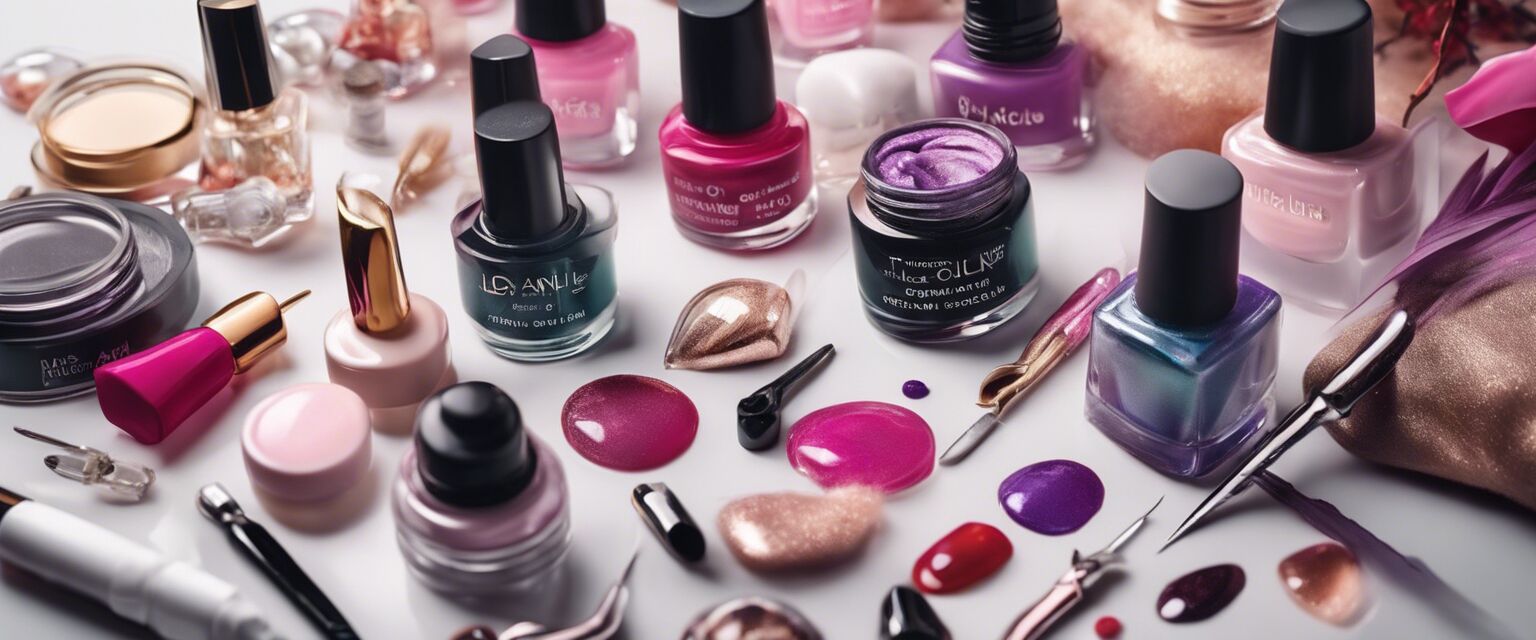
One of the most important things to consider when getting started with DIY nail art is choosing the right nail polish. With so many colors and finishes to choose from, it can be overwhelming, but don't worry, we've got you covered. Check out our nail polish selection to find the perfect shades for your next DIY project.
Basic Nail Art Tools
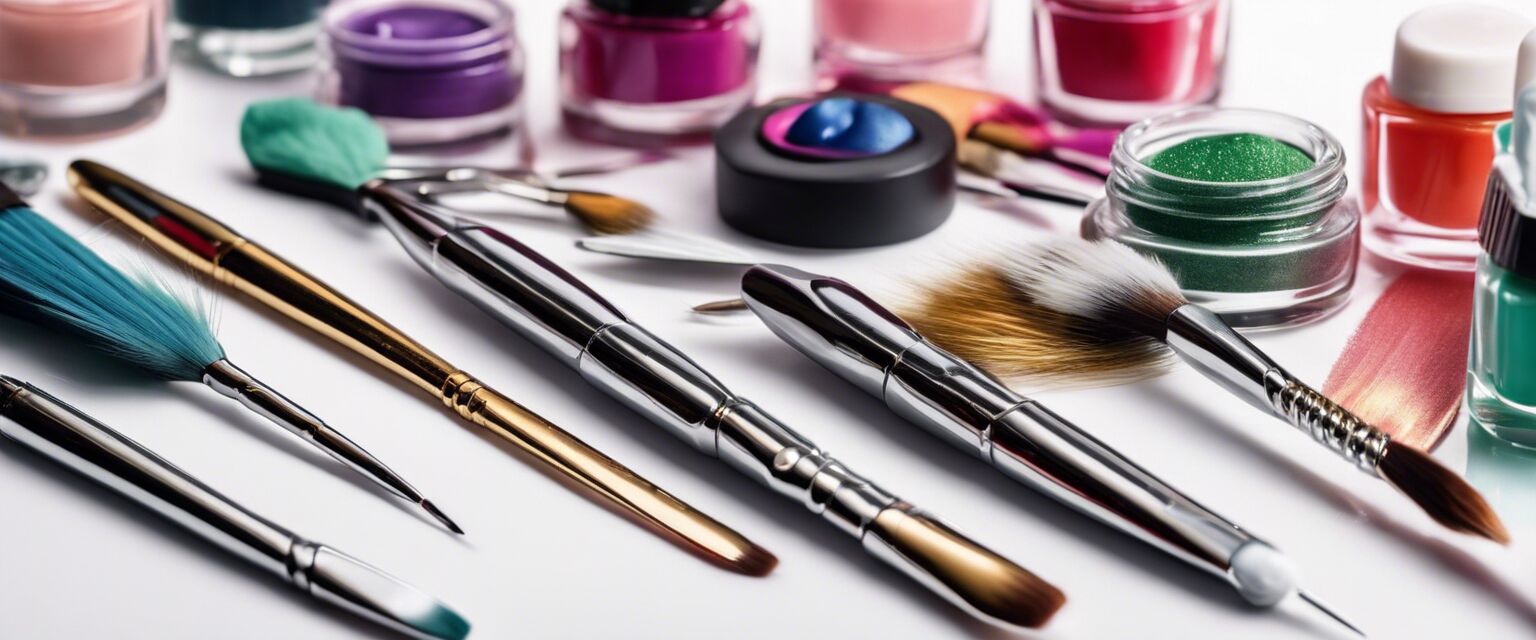
| Tool | Description |
|---|---|
| Nail polish brushes | Used for applying nail polish and creating fine details. |
| Nail dotting tools | Used for creating small dots and details. |
| Nail striper brushes | Used for creating thin stripes and lines. |
| Nail art sponges | Used for creating textured and gradient effects. |
These are just a few of the basic tools you'll need to get started with DIY nail art. You can find all of these tools and more in our nail art accessories section.
Nail Art Tutorials for Beginners
If you're new to DIY nail art, it can be helpful to start with some simple tutorials to get you started. Here are a few of our favorite tutorials for beginners:
- Striped nails: Start by applying a base coat and then use nail tape to create stripes. Paint over the tape with a contrasting color and remove the tape to reveal your design.
- Dotting tool flowers: Use a dotting tool to create small dots in a flower pattern. You can use one color or mix and match different shades for a unique look.
- Ombre nails: Gradually blend one color into another to create an ombre effect. You can use a sponge or a brush to achieve this look.
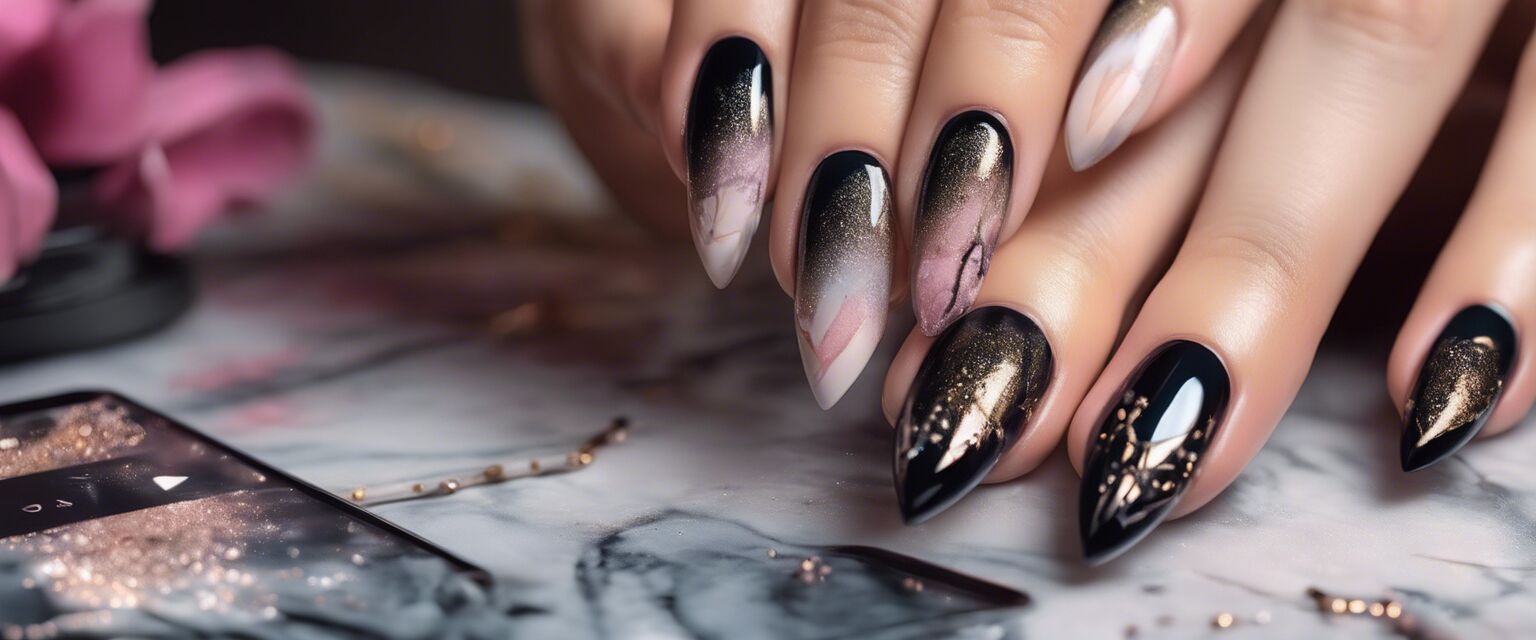
Experimenting with Different Techniques
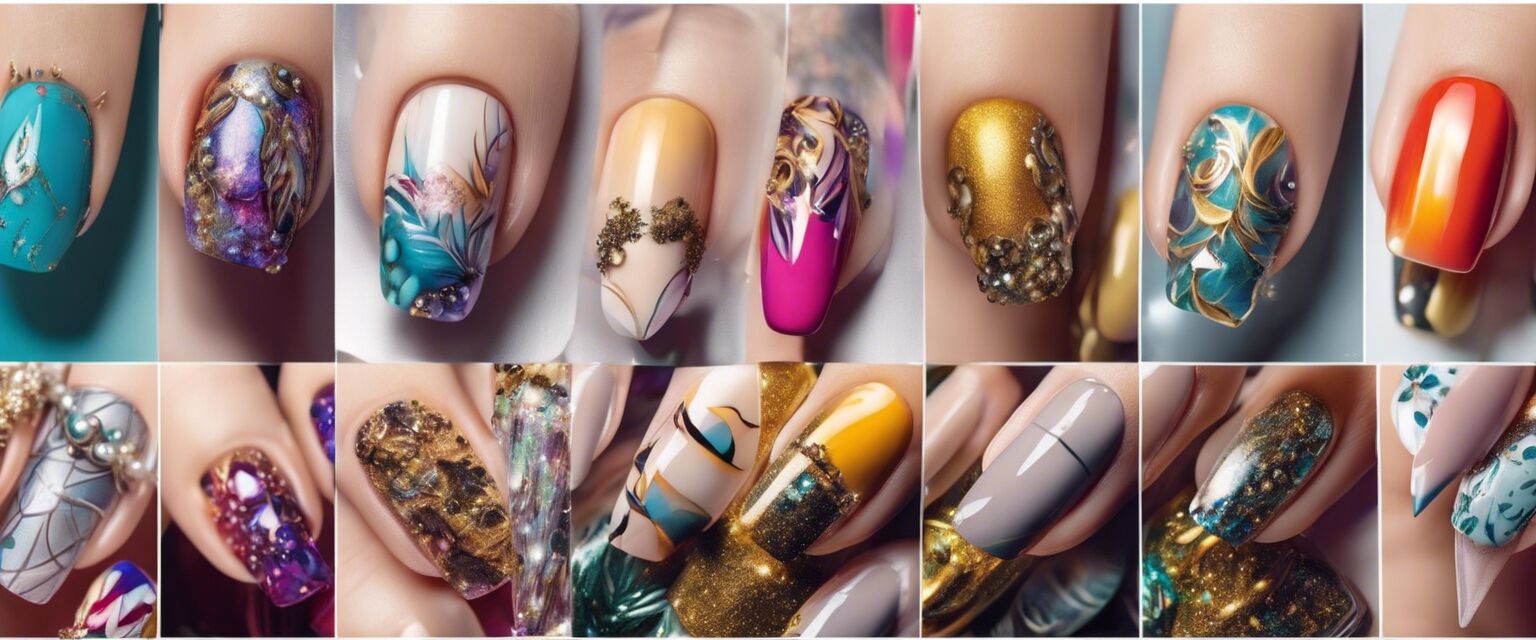
Once you've mastered the basics, it's time to start experimenting with different techniques and materials. Here are a few ideas to get you started:
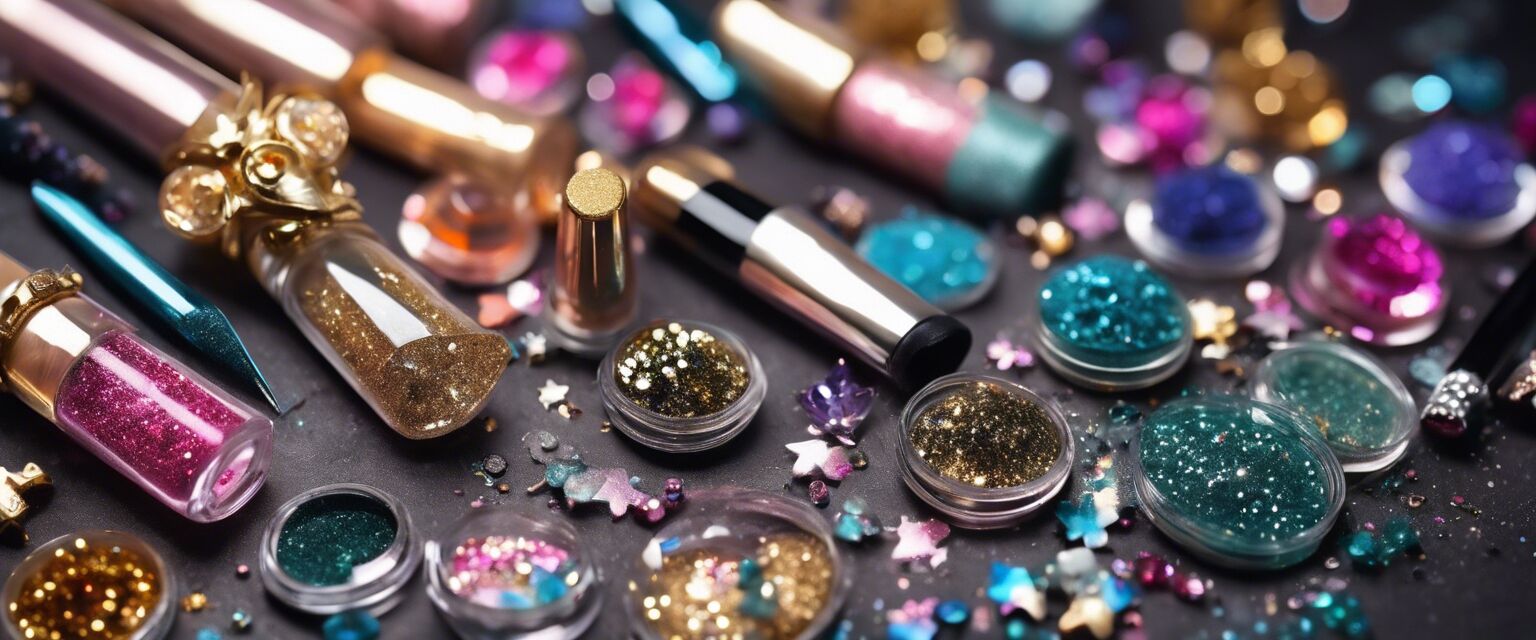
- Glitter: Add some sparkle to your design with glitter polish or loose glitter.
- Stickers: Use nail stickers to create intricate designs and patterns.
- Nail charms: Add some 3D charm to your design with nail charms.
Pros
- DIY nail art is a cost-effective way to get creative with your nail designs.
- You can customize your designs to fit your personal style.
- It's a fun and relaxing hobby that can be done at home.
Cons
- It can take some practice to get the hang of DIY nail art.
- You'll need to invest in some basic tools and materials.
- It can be time-consuming, especially for more intricate designs.
Beginners Tips
- Start with simple designs and gradually move on to more complex ones.
- Practice, practice, practice! The more you practice, the better you'll get.
- Don't be afraid to experiment and try new things.
